
Easter can mean many things to different people, but one thing we do know is that a lot of chocolate is exchanged over this long weekend.
We love chocolate to eat, but what about to wear on our face? And no, I don’t mean from the Easter eggs…
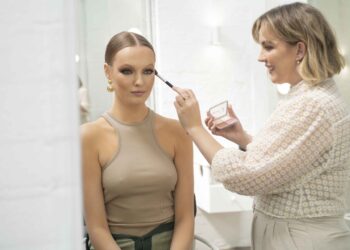
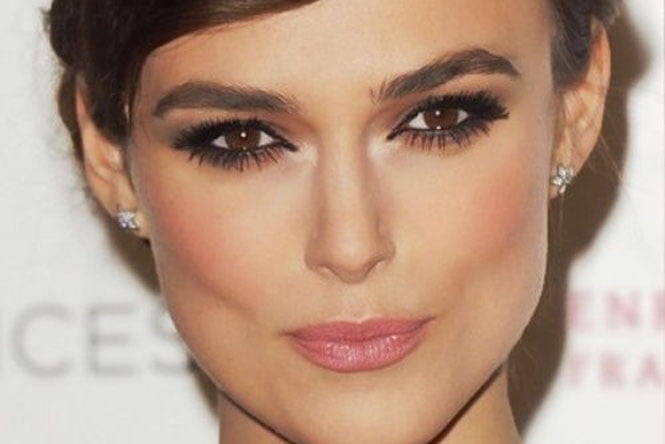 image via pinterest
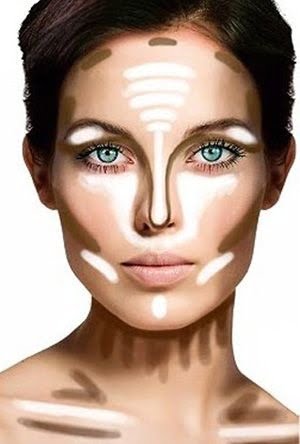
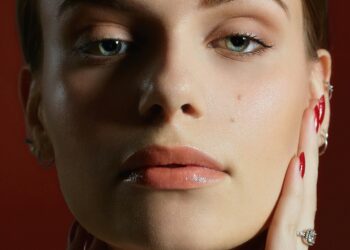
Chocolate inspired makeup shades have hit the runways and nude, chocolate tones can work wonders for most skin tones. They are classic, can really shape the face and give a touch of elegance to your look – but like anything, they needs to be applied correctly to do what they does best – give shape and lift to the face.
We have white, milk and dark chocolate, and with makeup it’s great to use a mix of all three, so we don’t end up with only one tone on the face. The deeper the chocolate, the more contour you will see once applied to the skin. When paired with some white chocolate as a highlight, you’ll see magic happen on the face, really bringing out facial features.
Chocolate shaded makeup still can be classed as nude tones, but it does raise the bar from nude to chic – it can create a little more for the face than just neutral taupe shades as we are seeing on the runway.
Pros for using Chocolate shades
– Great for shading/contouring (These shades will recede areas to lift)
– Nude tones are on trend
– An eye pop for lighter eyes (blue/Green)
– Elegant, classic, wearable
– Suits any age
– Deeper the tone the more striking/seductive the look can be
– Great with most outfit shades (except very pastel/silver)
– Reduces Redness for sensitive skins
Cons for using Chocolate shades
– Brown eyes will not pop as much as no contrast
– If all areas of face are chocolate in the same tone, you may look dull
– For lips, can make smaller if too deep a chocolate shade is used
– If you have a very yellow base skin, you will need to pop the lip or cheek with colour
So, as you can see, there are a lot more pros than cons for these shades.
Points to remember include having a variety of chocolate shades, not just one. A good white chocolate highlight is also a must!!
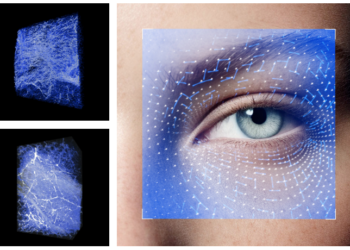
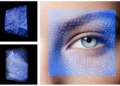
A great guide for where your white chocolate and milk to dark chocolate chould be applied for best results – Highlight and Shade! Highlight to bring things forward and appear larger and shade to recede and hide areas – the best anti-ageing face-lift is with this technique.
Skin
Once your chosen foundation/BB cream/concealer has been applied to the skin, it is important to add a milky white highlighter on the ‘high’ points of the face. This will add light for freshness, bringing these frontal points forward, adding contrast for when the chocolate shades are applied. Adding highlight guarantees your look not to look dull as it creates super light on the face.
My choice is the Laura Mercier Radiance Primer (RRP $45)
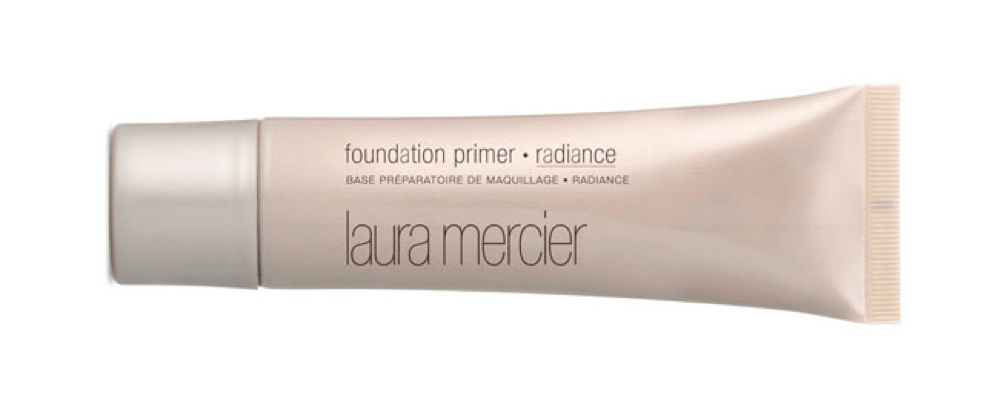
Rather than being used all over the skin, I only use this on the high points of the face, over foundation. (Cheekbone, brow pone, cupids bow, between brows.)
Eyes
It’s great to layer and build up different shades of chocolate to create the best effect, rather than one solid shade across the eyelid.
My favorite chocolate eye palette is the Tom Ford Eye Colour Quad in Cocoa Mirage (RRP $100)
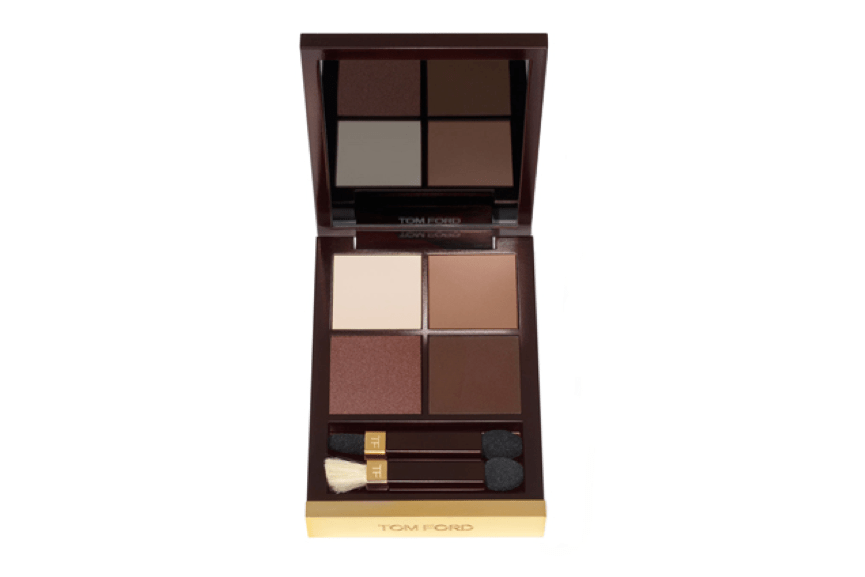
This palette is great for so many reasons, but the right amount of chocolate is present for day to night and it’s a great layering palette for any occasion.
My guide would be…
1. Use top right shade as a contour shade, all over mobile eyelid/lower lash line, mainly in the socket to shade and lift area, receding away any unwanted puffiness
2. Use bottom right shade on both top/bottom lash line as an eyeliner, but also shaded slightly into socket, but not covering entire eye lid
3. Use bottom left shade (slightly metallic) on the mobile eye lid only, it will lift, give a sheen and bend first two shades together… this shade is also beautiful alone as a wash of colour for a simple day look.
4. Use top left shade very lightly at peak of brow to lift, but not applied heavy or under entire brow… this is also great as I little highlight in the inner corner tear duct area of eye.
MB PRO TIP:
For brown eyes, use more of Bottom left shade as it has a metallic base. It will contrast more from your brown eyes.
Lips
A chocolate lip can be very seductive when applied correctly. But, if you have a small lip area, avoid going too dark as it can create a smaller lip. Not the best effect.
When applying your milk chocolate highlighter earlier in the look, add a little highlight to the cupid’s bow (peak) of the mouth to add light to promote a pout before lipstick application.
Using two shades of chocolate can be a great way to avoid a smaller lip when using deep shades.
My choice of chocolate lips is the Estee Lauder Pure Color Envy lipsticks (RRP $50)
Apply the deeper shade of chocolate (Decadent Shade) over the entire lip, more at outer edges and if you use your fingertip, pressing/dabbing pigment in, you will create a longer lasting stain effect, much more on trend and not as severe as a brush applied lipstick.
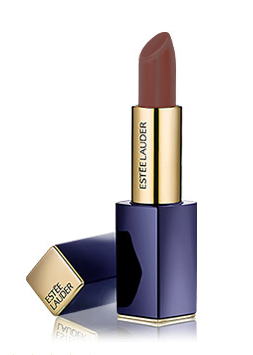
Shade – Decadent
Then lightly apply the lighter shade (Intense Nude) in the centre of the mouth, this will create more visible plump than one shade alone.
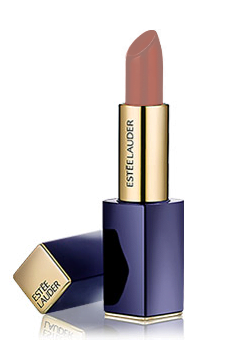
Shade – Intense Nude
So go Chocolate this Easter and create a chic, classic, contoured look for yourself – just remember to add highlights and you will never look dull!
Happy Easter!!


